Making the British Pullman marquetry sign panel.
It’s certainly exciting to get a call from Belmond.
From the very beginning, with the making of the marquetry panels for the original Pullman Cars and Wagon-Lits. Each carriage in their own style to the present day. Belmond and ourselves have worked closely together.
Things have changed too. There used to be endless envelopes arriving with different ideas and designs, the fax machine working away. To now, where the simple click of an email holds everything you could possibly need. My dad always said “It only takes a phone call” and the exciting thing was, we never knew when we would be receiving that call. The phone call that would be the start of a new project.
The excitement of receiving a new commission is still the same today, the brain goes into instant overdrive of the possibilities and achievements, but it comes in a different form of an email. It is by no far a bad thing. It is in fact very simple. I received the design work via email, which I then sent to a printer’s (via email!), who I found on the internet. A few days later, the photocopies arrived with “tags” so I knew where to join the pieces of papers.
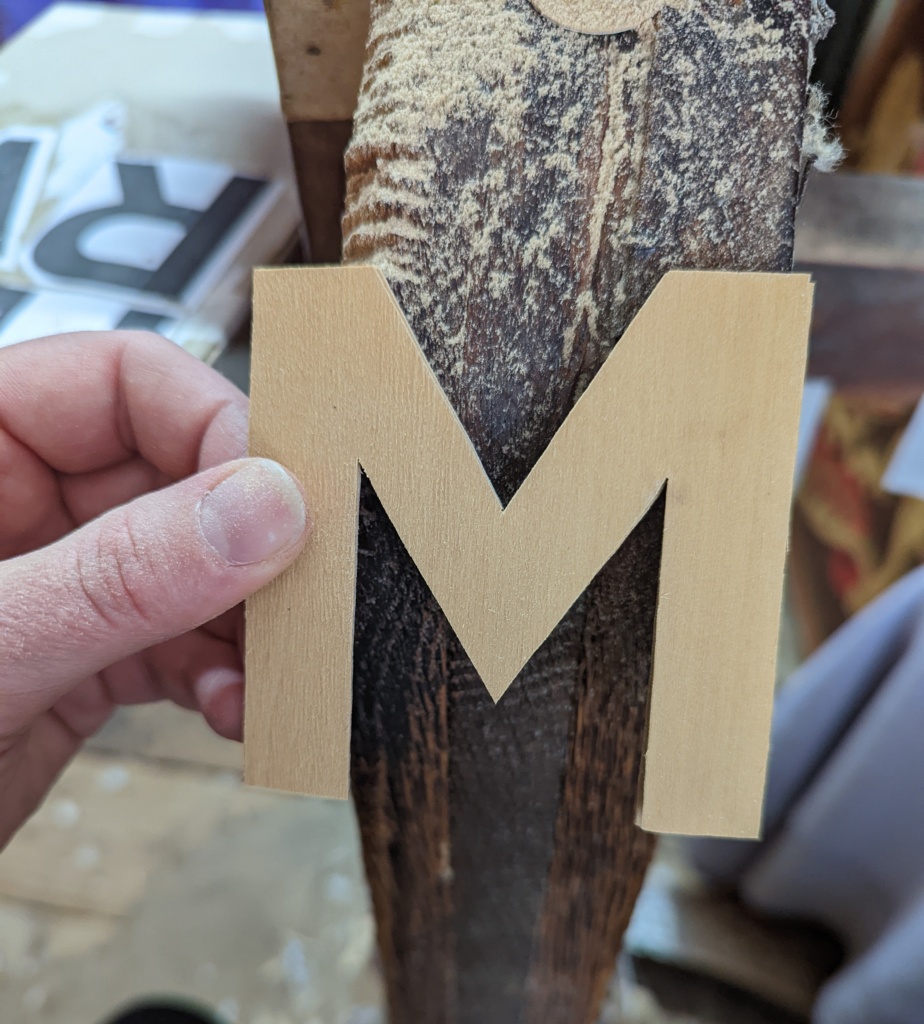
Firstly, I begin with cutting the letters out. Boxwood was the chosen veneer for these. I will cut the pieces (letters) by at least 3, sometimes by 5. This is just in case of any breakages or damages before it heads to the pressers. Letters used to be my nemesis! They have haunted me since my early days of being an apprentice marquetry cutter. I would have to cut and re-cut them until they were good enough.
Even though they are good enough now and I do not have to re-cut them or even taking a deep breath before I start cutting. There is always the knowledge of those early days in the back of my mind when I begin. However, there is always a smile when I finish cutting. I turn the letter over. Checking the lines, looking for any mistakes as my competition is a laser cutter via computer and its lines are going to be perfect!
When the letters have been cut. We prepare the background veneer. For this marquetry panel, sapele was the chosen veneer. I cut out the background of letter shapes. Once they are all cut out, I insert the boxwood letters. All the letter are held in place with veneer tape.
The front is now cover in veneer tape, we turn the inlay over and check everything over. Once we are happy, we head to the pressers. The marquetry inlay is pressed to the backboard. We then slightly damp the veneer tape, this re-activates the glue and peels off. Once all the tape cleaned off. The marquetry panel is then sanded up. Our job is done and I drop the panel off with the polishers.
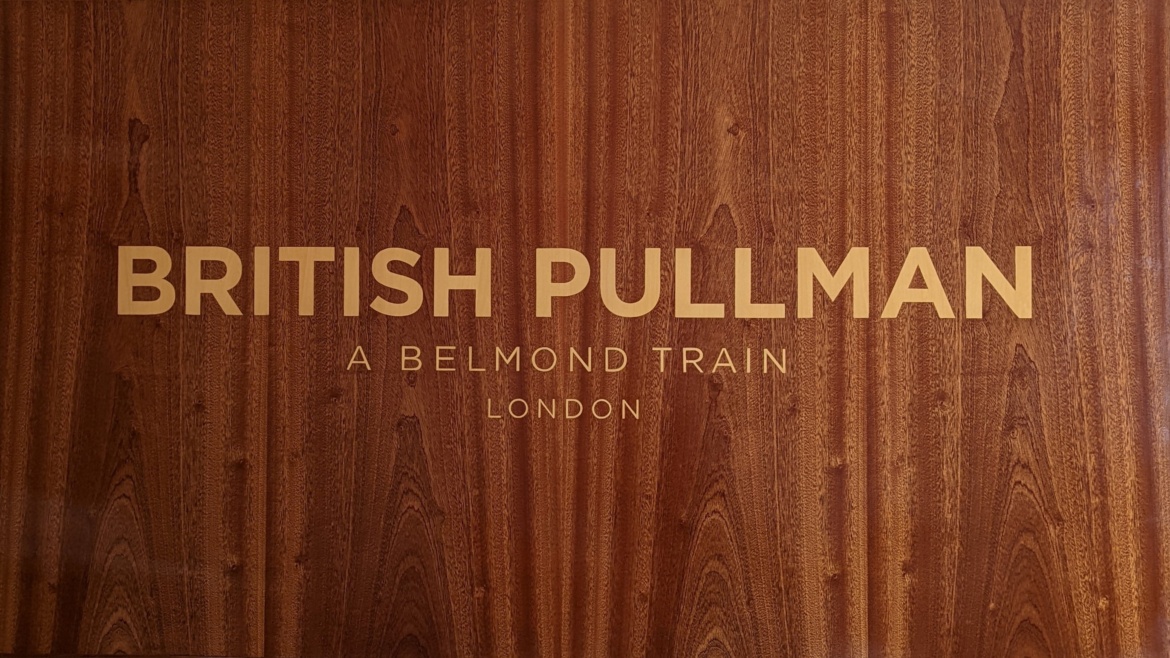
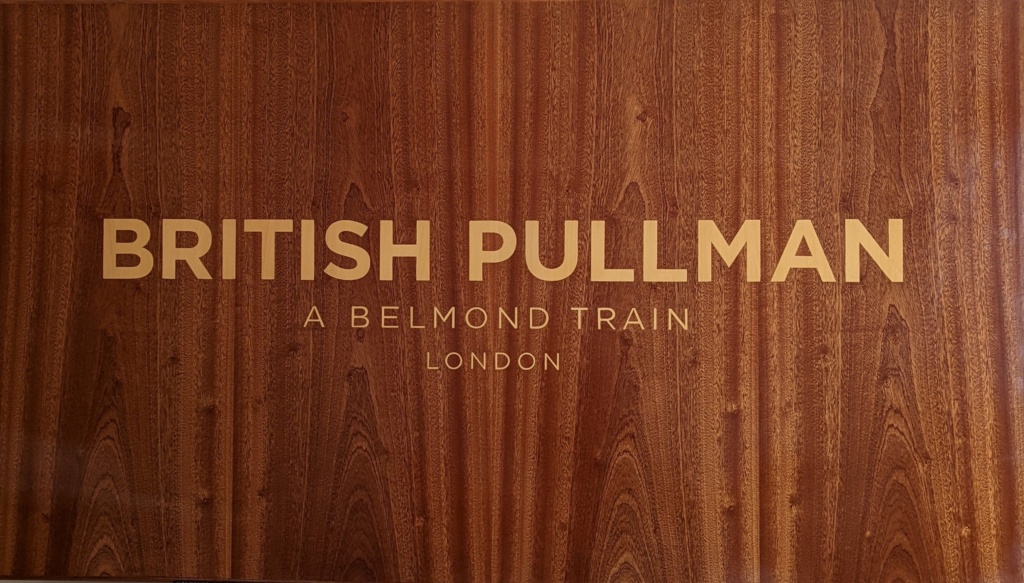
Front and back of the marquetry sign panel before and then after it has been to the pressers.
All finished ready for delivery.
There is more information on the The British Pullman Train and the Custom designs in the Pullman Cars, and our Services available.